국제법을 알아야 논쟁할 수 있는 것들
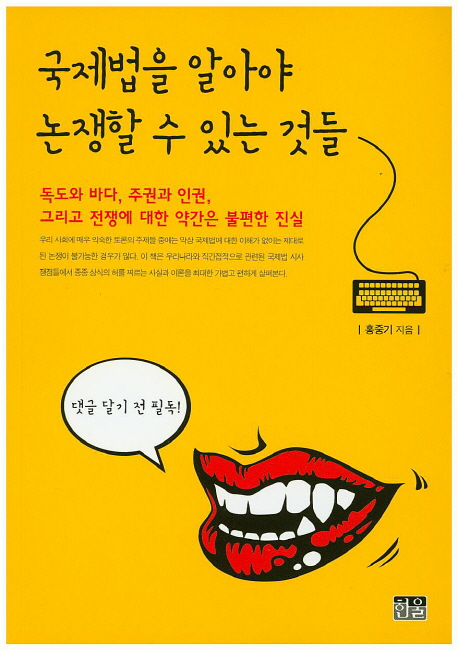
isbn:8946048875 국제법이 독도, 이어도, 주권, 인권, 전쟁을 어떻게 다루는지 설명한다. 과거 일본의 독도 도발이 한국에서 이슈가 되었다. 네티즌, 여론이 한마음으로 […]
isbn:8946048875 국제법이 독도, 이어도, 주권, 인권, 전쟁을 어떻게 다루는지 설명한다. 과거 일본의 독도 도발이 한국에서 이슈가 되었다. 네티즌, 여론이 한마음으로 […]
isbn:893008687X 산업통상자원부 베테랑 공무원이 과거 한국 경제의 감탄, 중국 부상에 따라 한국 경제의 경쟁력 근심을 이 책에 서술했다. 일본에 대해