과학하고 앉아있네 podcast 다운로드 + plex 관리 스크립트
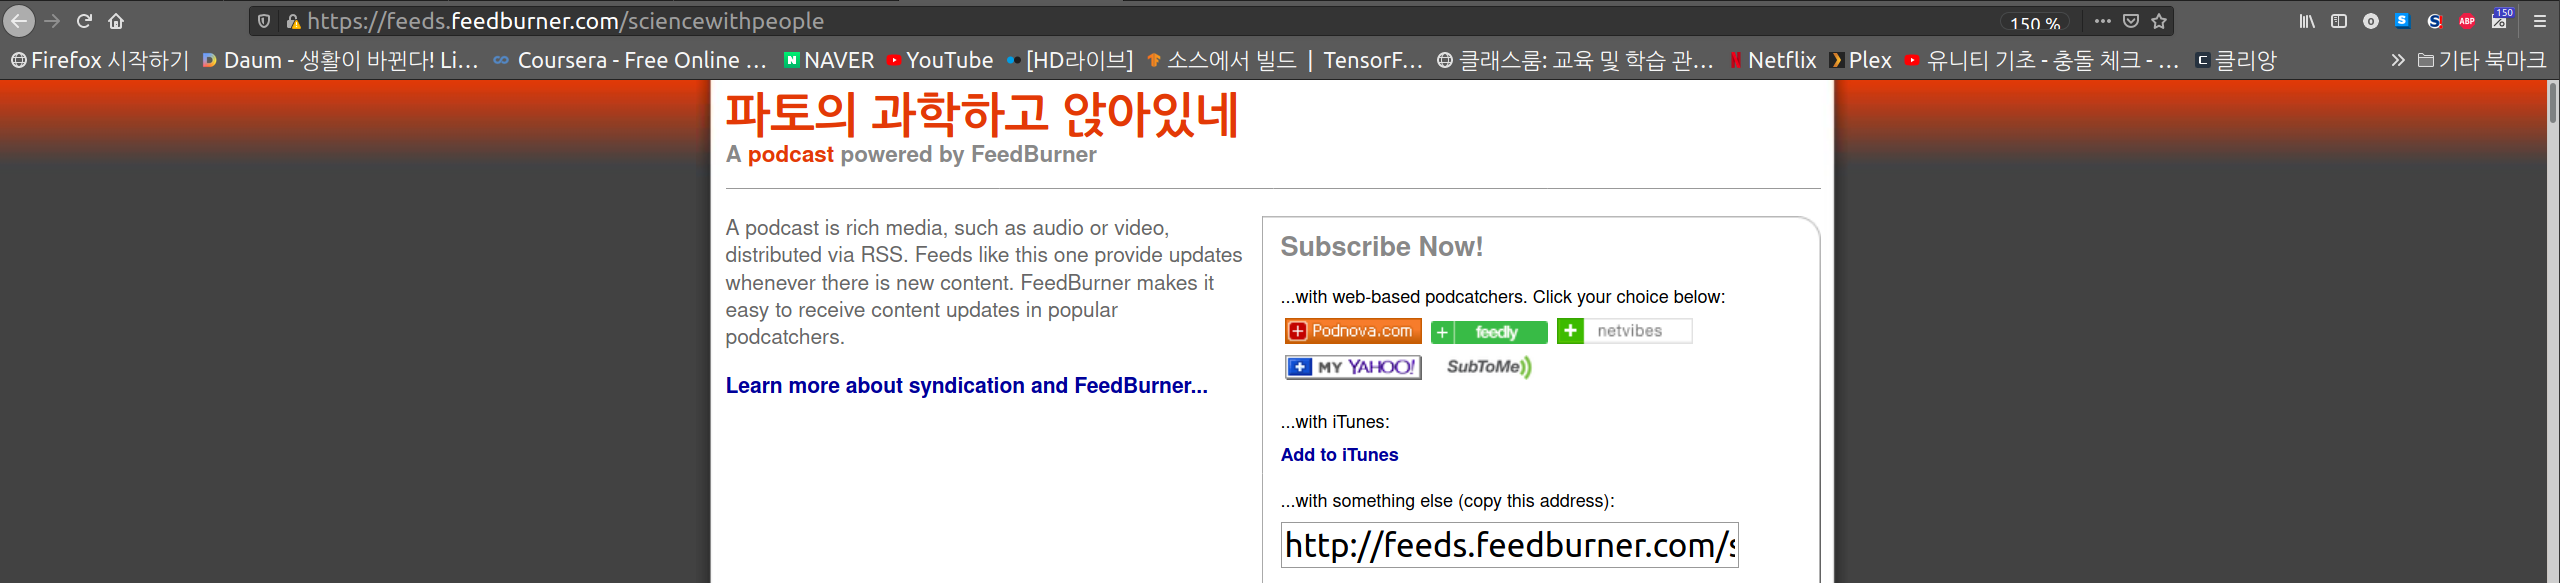
과거 쎈호스팅에서 mp3를 다운로드를 제공했었는데, 팟빵 앱으로 접근하지 않는 사용자들을 제약하려고 주소를 옮겼다. 겨우 찾았는데, 쎈호스팅과 과학과사람들이 어떤 일을 했는지 […]
과거 쎈호스팅에서 mp3를 다운로드를 제공했었는데, 팟빵 앱으로 접근하지 않는 사용자들을 제약하려고 주소를 옮겼다. 겨우 찾았는데, 쎈호스팅과 과학과사람들이 어떤 일을 했는지 […]

container_of를 사용하여 double linked list로 연결된 task_struct가 가진 다른 멤버에 접근할 수 있다. 자세한 원리는 모르겠지만, 컴파일러가 offset을 고정시키는데, 구조체를 미리 알고 있기때문에, 거꾸로 세어 나가는 원리인 듯 하다. 이것은 기술인가? 잔머리인가? 두 번 탐색하지 않아도 되기 때문에 많은 부분에서 사용된다 한다.
실습 라즈베리 파이를 전원만 붙여 책상에 올렸다. 처음에는 이미지를 잘못 뜨면 부팅되지 않을까 키보드, 마우스, 모니터가 필요하다 생각했다. 그러나 크로스 컴파일 삽질을 몇 번 해보니 부팅 이미지를 쉽게 만들 수 있었다. 공간(공간 = 돈)을 절약하고자 라즈베리 파이에 전원만 넣고 나머지를 싹 치웠다.