프로그래머스 주식가격
stack을 만들어서 바로 int[]로 변경하려 했으나 안되었다.다름 사람의 풀이 역시 바로 바꾸지 않았다. stack으로 넣은 다음 하나씩 읽어 새로 만든 […]
stack을 만들어서 바로 int[]로 변경하려 했으나 안되었다.다름 사람의 풀이 역시 바로 바꾸지 않았다. stack으로 넣은 다음 하나씩 읽어 새로 만든 […]
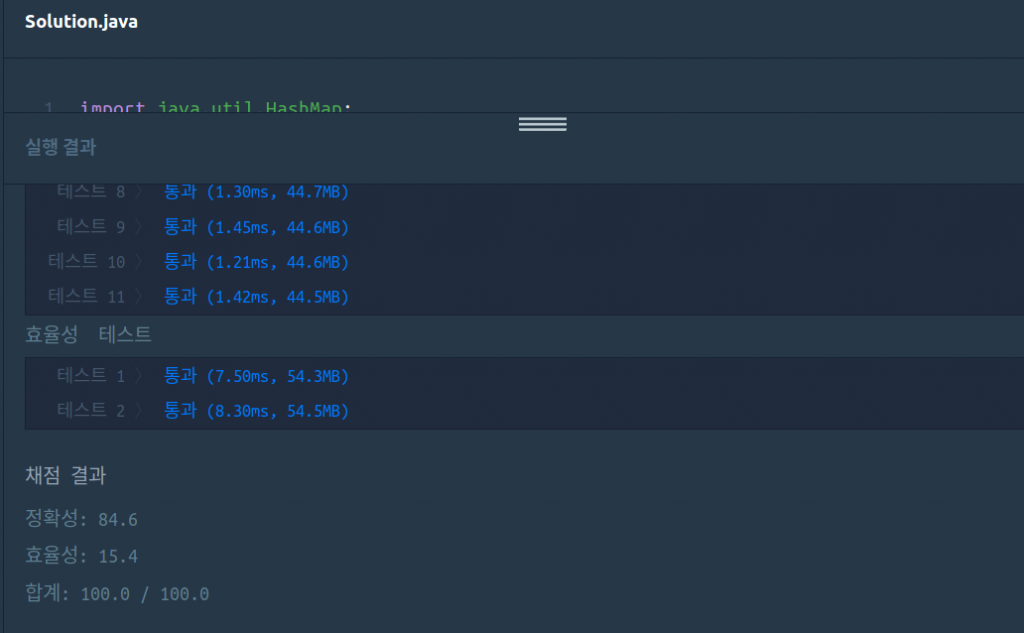
hashmap으로 접근하니 좀 빨리 풀린다. level 2가 1보다 더 쉬워보인다. eclipse에서 컴파일후 웹 페이지에 복사했는데, 칸도 안맞도 다시 맞추려니 어렵다.